PROJECT UPDATES - JUNE 2022

As we wait for products to arrive at our warehouse, we have been working on some items which will be included with our upcoming releases:

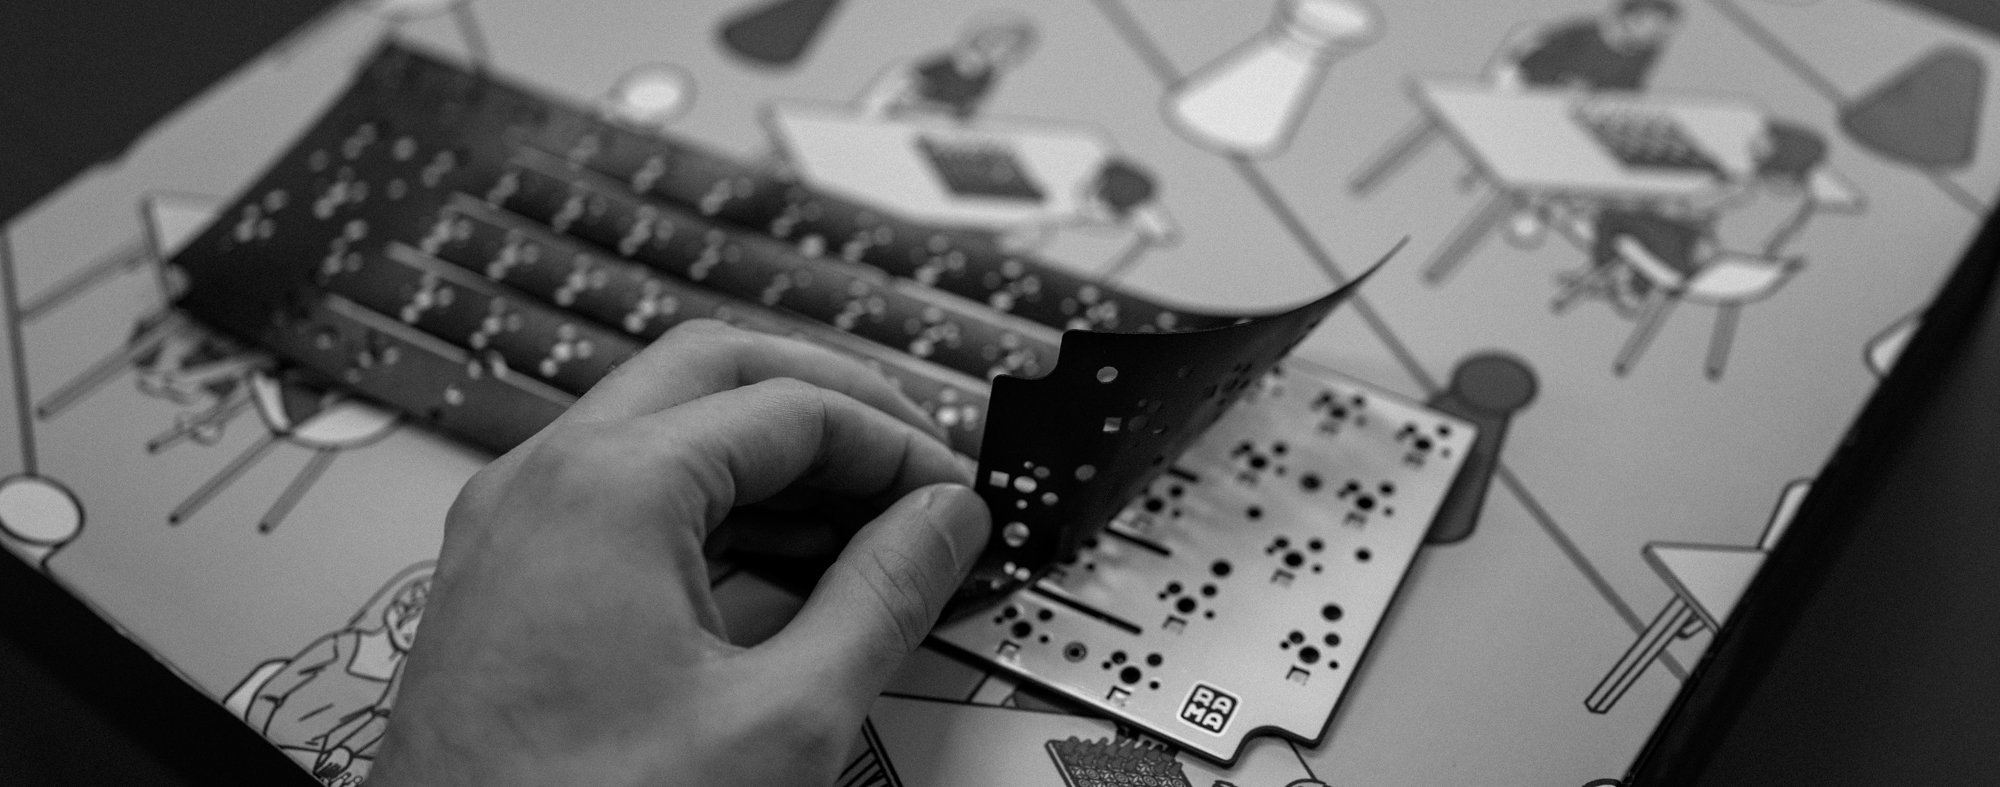
Microfiber Gloves:

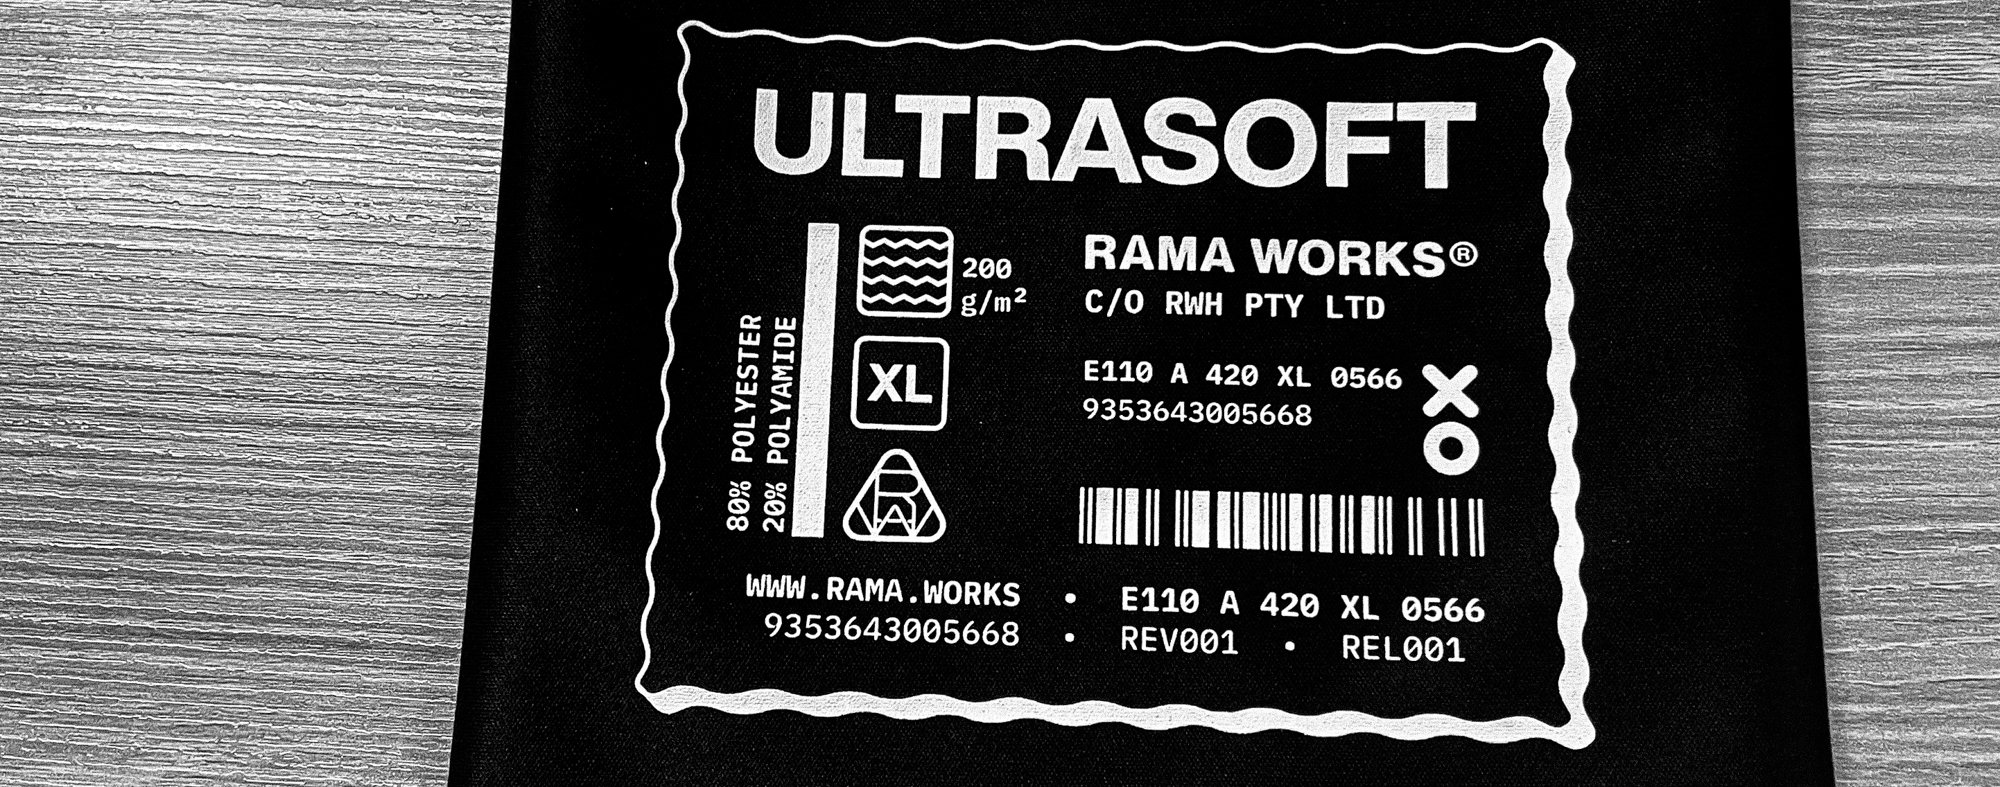
Cleaning Cloths:
And some new products:
Playing Cards

WORK IN PROGRESS. Featuring holographic, foil and other premium features.

NFC Access Control Cards: 

We needed some elite access control cards for our office, so we decided to make our own! They’re stainless steel, weighing in at 25g and 0.8mm thick. There’s a deep-etched circular center on one side where the RFID chip sits, allowing us to not use the typical plastic lamination for one side of the card and have it remain full metal. They are laser etched, painted and have a lot of detail. These will first be available in stock alongside some of the other items arriving next month: The XO Team cap, XO Pens.

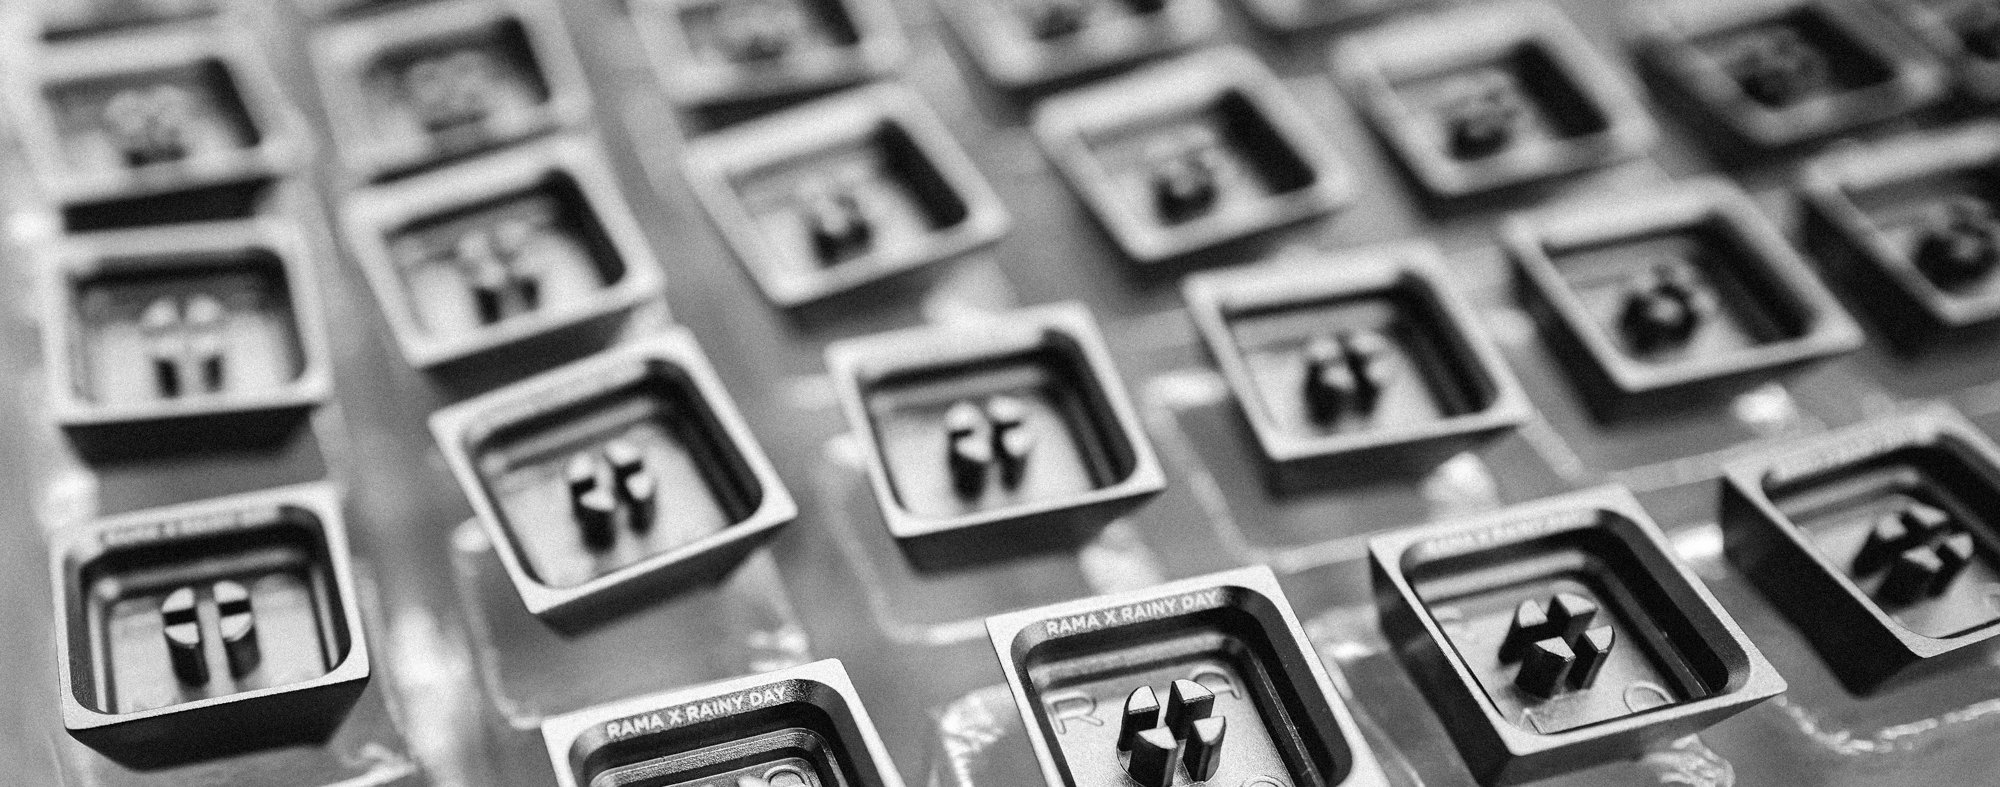
Collaboration Artisan Keycaps: 

We’ve received another batch of our collaboration caps which are currently being QC'd and packed by our warehousing team as quickly as possible to our distributors. For those who have purchased directly from us, please contact us through support@rama.works if you have moved/changed addresses and our team will be happy to assist as best we can.
XO Pens 

After initial QC we have opted to refinish the brass units of the XO PENS. We are expecting them to arrive by the end of this month leading up to the start of next month.
UPDATE: The first batch is inbound to our warehouse (the brass ones are being re-finished as we weren’t satisfied with the finish of the brass units)

Chess Set: 

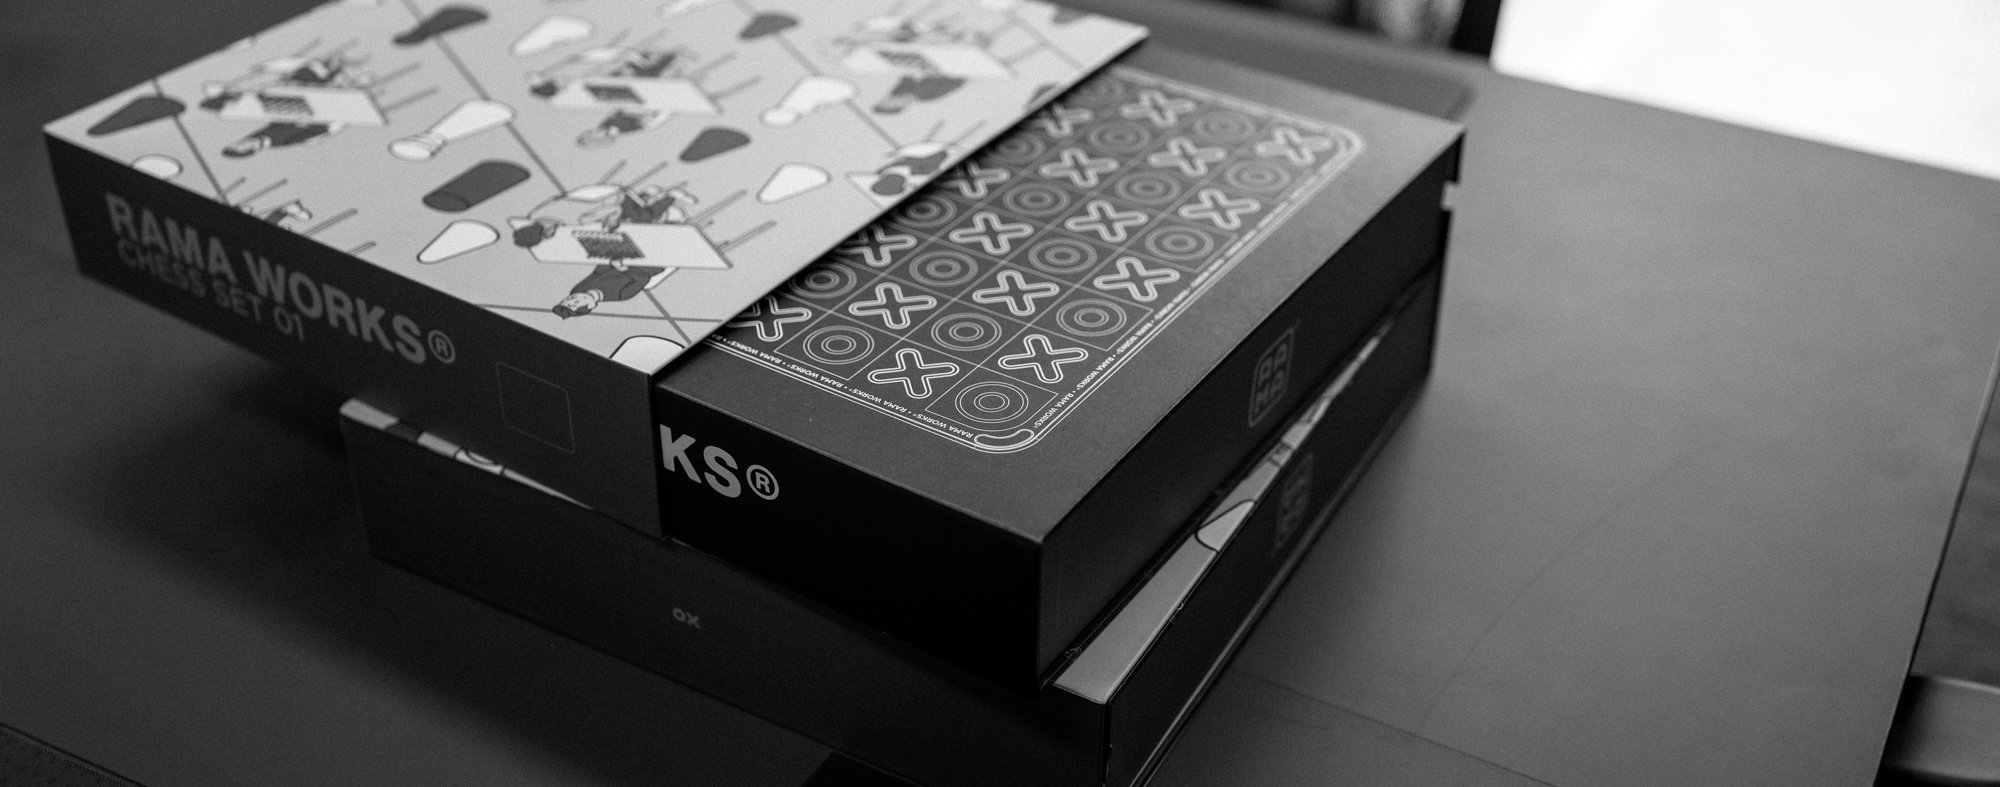
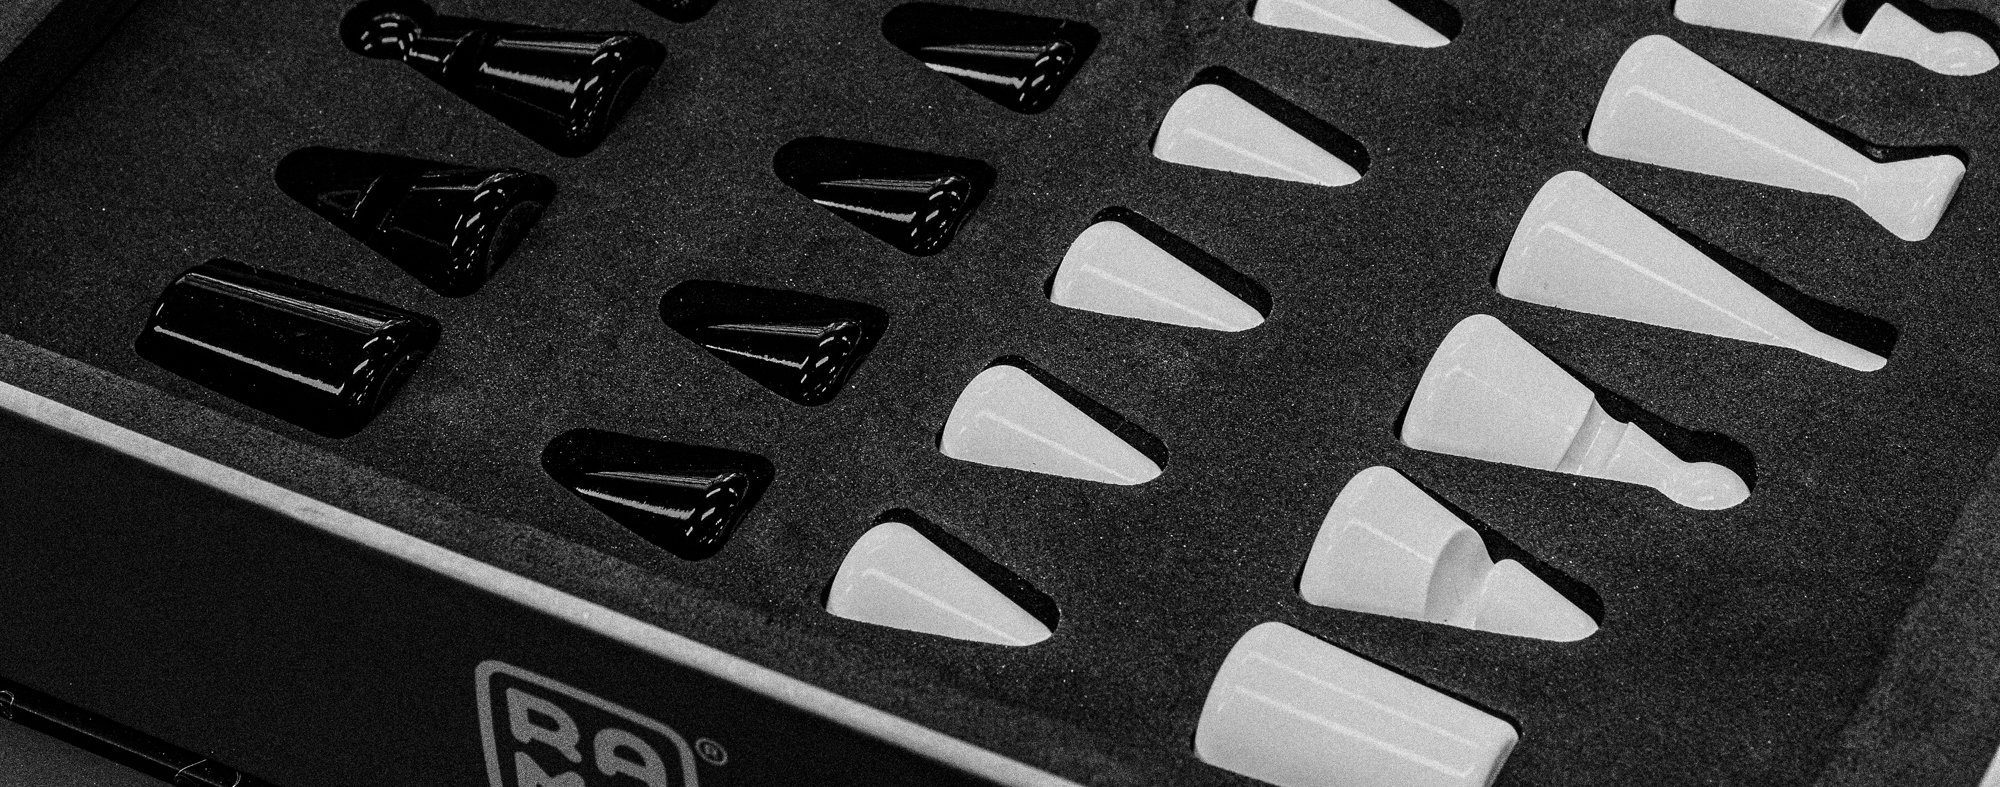
The first revision of the packaging came in which we are really happy with. It feels like a solid showcase piece you would want to keep on a coffee table. There have been some minor adjustments made and the second set of samples are en route.
JARS: 

We were expecting to receive the JARS last week, but the manufacturer has informed us of an issue with the rubber seals. The new gasket tooling will be finished by next week and the JARS will ship out that same week. We will post updates when this has been shipped through our socials e.g. Instagram, so please be sure to follow us if you haven’t already.
UPDATE: These are inbound to our warehouse.

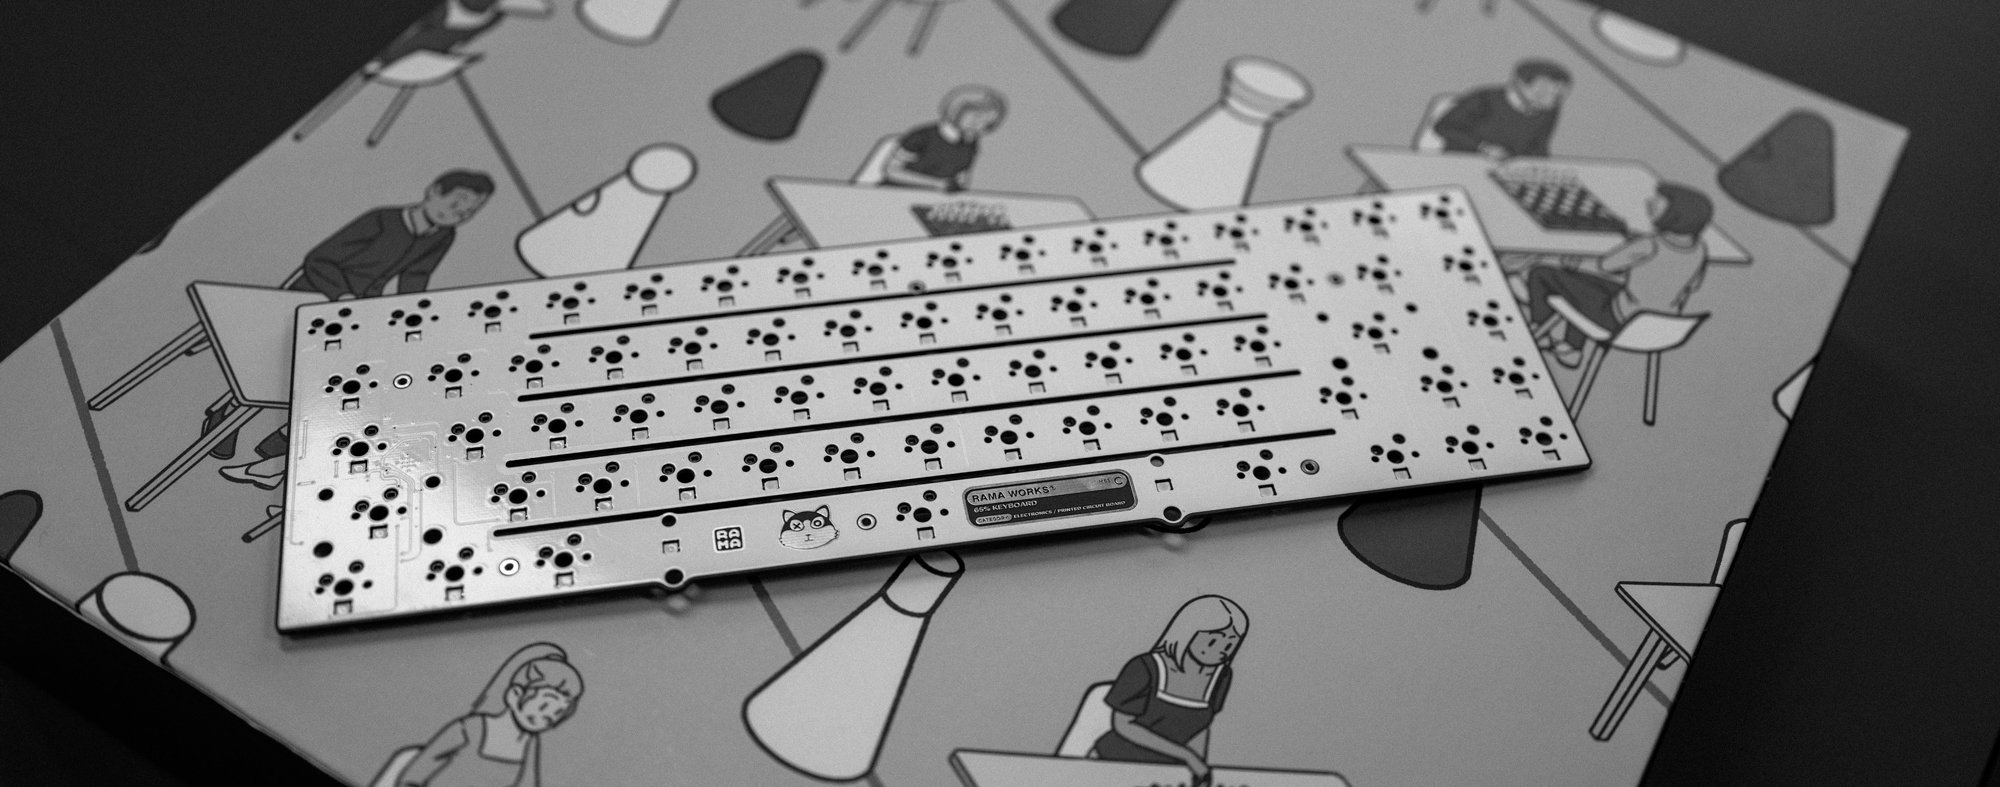
60%/65% PCB's: 

The latest round of PCBs have arrived and we are currently performing further evaluation and testing. We are also remoulding the PE Foam to adjust the sound signature and adding additional cutouts for the stabilisers.

THERMAL 

The SEQ 2 THERMAL units are in the final stages of assembly and packaging at the factory and will soon move to complete the assembly/packing of the THERMAL+ units. We will create another update when these are done and ready for sea-freight.

M60-B, M65-C, U80-B:

At this stage we’re looking at next year for fulfillment, we will keep updated if this is pushed forward.

KARA:

Pending the completion of the updated PCB’s we expect we can have the units completed soon after.

MATS: (IN PRODUCTION)

Packaging production is underway and when complete, will be assembled and shipped to our warehouse for fulfillment. We are expecting these to arrive in 2 months.

LOVE MATS DONATION:

Proceeds of our LOVE Mat edition MATS will be donated to Beyond Blue. Every month, thousands of people reach out to Beyond Blue for advice, support and information. Your donations go directly towards funding Beyond Blue’s Support Service so these calls don’t go unanswered. By supporting Beyond Blue, we are joining a community that is working to reduce the stigma, prejudice and discrimination that act as barriers to people reaching out for support. 

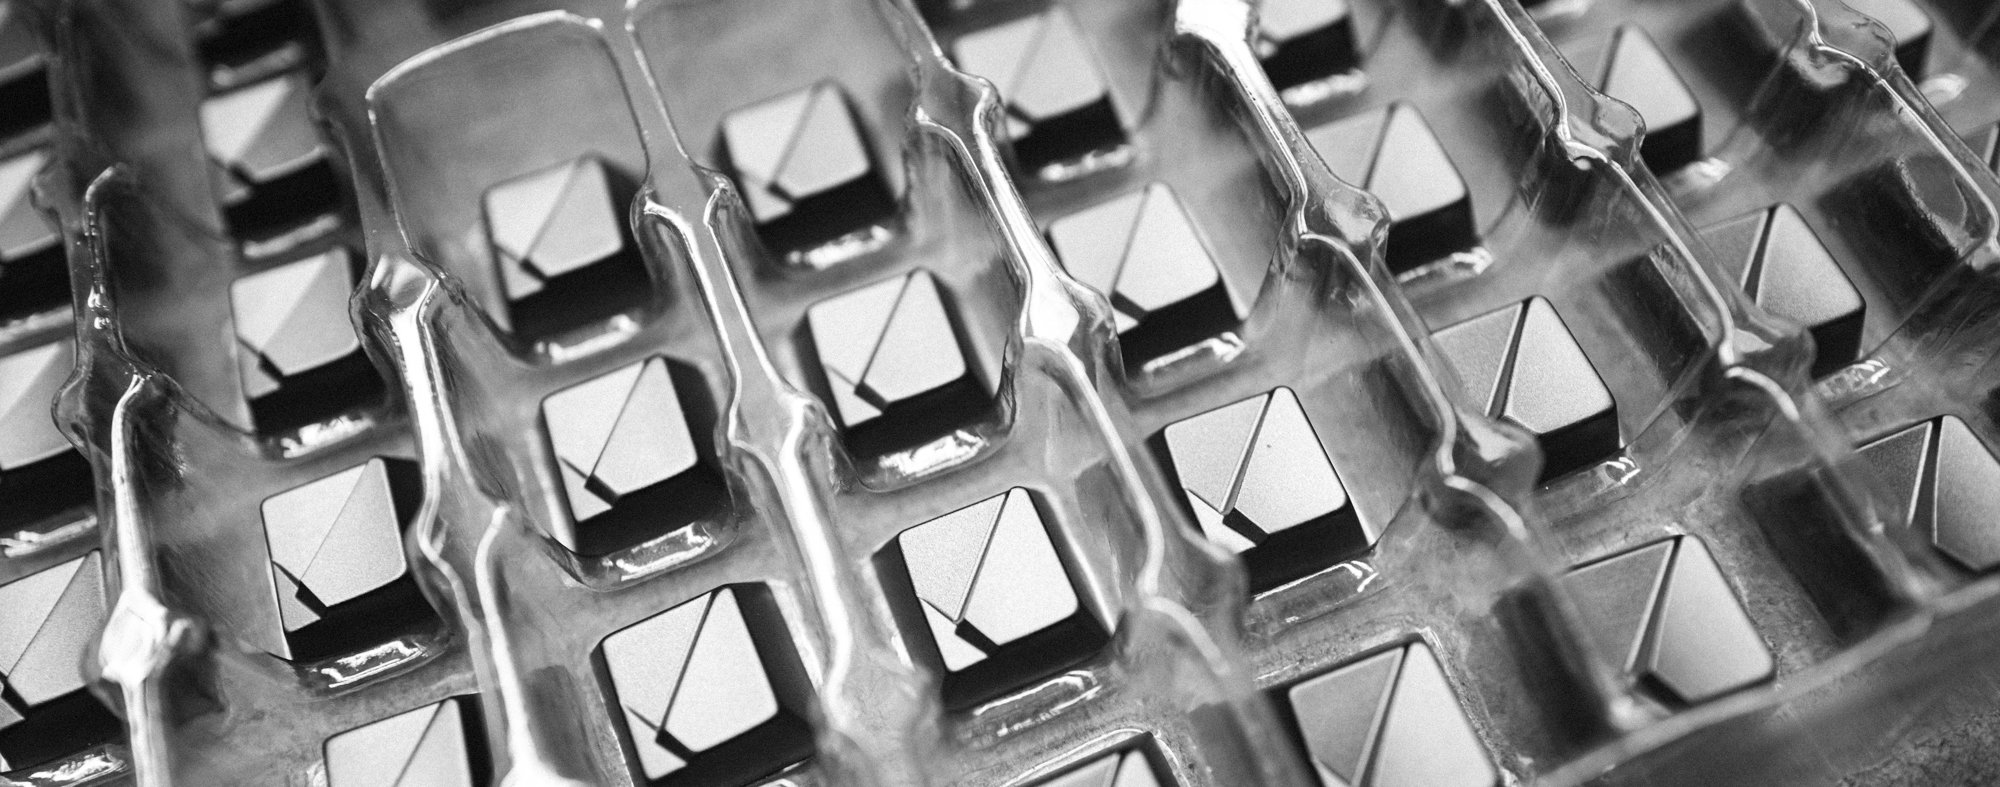
Doubleshot Keycaps  (KATE/CAPS):

The latest round of fine tuned samples have arrived and there are still very minor inconsistencies. We were still not 100% happy with the quality and again, Injection Molding is an iterative process - tooling after tooling changes until the end result is what’s expected. We are expecting to receive another batch soon, and will post pictures when they’re in.


INSTAGRAM 80K GIVEAWAY
We’ll be soon announcing a giveaway for reaching 80K followers, with a few exciting prizes!



Confirm Goods

1 x Top Enclosure (Aluminium)
1 x Base Enclosure (Aluminium)
1 x Back Weight
1 x Plate (Anodized Aluminium or PVD Coated Brass)
1 x Wilba.tech WT65-XT or WT65-XTX PCB
1 x Wilba.tech WT-USB-C daughterboard
1 x JST Cable
8 x RW Black M3x8 FT T10 Fixtures (Case)
8 x RW SS M3x6 FT T10 Fixtures (Weight)
4 x RW SS M2x4 FT T10 Fixtures (Daughterboard)
8 x RW SS M2x3 FT T10 Fixtures (Hotswap PCB Only)
8 x RW SS M2x3.5 Spacers (Hotswap PCB Only)
1 x Set of Zenith Feet
1 x Set of Poron Strips (12 total)
1 x XO Switchpuller SEQ2
1 x RW T10 Torx Tool
1 x RW T6 Torx Tool
1 x RW USB-C to USB-A braided cable - 1.5m
1 x Various Packaging

Building the Sub-Assembly

Stabilisers

Prior to this step, ensure you are building your sub-assembly on an anti-static surface. You can build upon the provided bag which the PCB arrived in.

Begin building your sub-assembly by installing the stabilisers into the PCB.


(Optionally, at this step you may choose to perform popular mods such as the band-aid mod.)

Standoffs

Secure 8 of the provided M2x3 FT T10 screws on the underside of the PCB and have the M2x3.5 spacers tightened on the same side of the PCB where the stabilisers are installed

Securing the plate

Align the plate with the PCB, spacers and stabilisers and secure it with 8 of the provided M2x3 CSK FT T6 screws to the spacers. These screws should sit flush into the plate.

Installing Switches

Put in your desired switches. Push it in towards the plate with enough force that it clicks and is secure.

It is good practice to not install switches at an angle to avoid bending the pins.

At this step, you may also choose to put on your favourite keycap set, or you can do this as the final step.

Preparing the Housing

Separating the housing

Unscrew all 8 of the M3x8 FT T10 screws that are installed onto the bottom of the casing to separate the bottom and top housing.

Once separated, place the top housing somewhere nearby, on a soft surface to avoid scratches and blemishes.

Removing the back weight

Turn the bottom housing over and unscrew all 8 of the M3x6 screws to separate the bottom housing and back weight.

Place your back weight aside and turn the bottom housing over again to begin mounting the daughterboard.

Mounting the daughterboard

Fasten and secure the daughterboard to the bottom housing as shown, with the USB-C connection facing towards the housing using 4 of the M2x4 FT T10 screws.

Connect the JST cable to the daughterboard and feed it towards the gap to reach the other side of the bottom housing.

(Here it may be best to adjust the black tubing so that the cable sits flush in the channel with minimal slack. This will aid in re-installing the back weight.)

Reinstalling the back weight

For this step, we have found it easiest to place the weight on a surface and drop the bottom housing onto the bottom weight for installation.

Secure the weight to the bottom housing, making sure that the JST cable sits securely in the channel that is in the bottom weight. Repositioning of the JST cable’s black tube may be required to allow the cable to rest in the channel allowing the bottom weight to sit flush.

Once it is flush, use the M3x6 FT T10 screws to secure the weight with the bottom housing.

After this step, install 6 of the provided poron strips.

Connecting the JST Cable

Connect the other end of the JST cable back to the sub-assembly

Alignment

Align the sub-assembly with the bottom housing.

Securing the top housing

Install the remaining poron pads into the top housing and secure it back onto the bottom housing with the sub-assembly between.

Flip the board over and use the 8 M3x6 FT10 screws to fasten the top and bottom housing together.

Installing the feet

Remove the adhesive protection from the ZENITH feet and apply them to the bottom housing.

With a bit of adjustment, they should fit perfectly into the channel.

Install your keycaps

If you have not done so already, install your chosen set of keycaps.

A firm push onto the stem should do the trick.

Finished!

That's it!

Enjoy using your keyboard and if there are any issues, please reach out to us at support@rama.works!